In this tutorial we are going to be making a raccoon character look as 3D as possible by using only 2D techniques and software.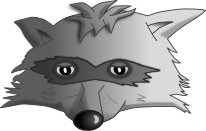
PROGRAMS USED (open source software):
Inkscape: Inkscape will be used to create the raccoon. This tutorial assumes you already have a basic knowledge of the program and are capable of selecting objects, changing fill and stroke colours, and editing nodes.
TUTORIAL:
1 - First of all, you should start by creating the basic shape of your character. The character on the right of the image was created with the various parts shown on the left of the image. You should fill these shapes in with solid colours. 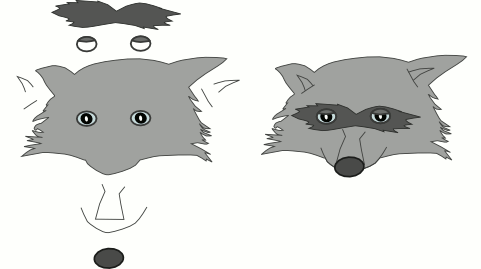
2 - Next, a bit more detail, such as the tuft of hair, was added to the character to give him a bit more personallity. 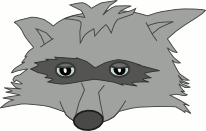
3 - A few more lines were then added on the tuft of hair and on the checks to help give a sense of realism to the character.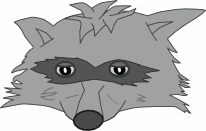
4 - The next stage is to add a general gradient across the main shapes, such as the head. This gives an immediate effect of depth on the raccoon. This gradient ranged from a dark grey to a lighter grey. To achieve a 3D look on the nose and in the ears a gradient ranging from dark grey to transparent was used. This transparency is important as it helps to make the objects blend in with the background objects.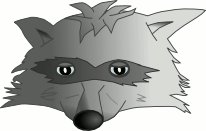
5 - Now add some shadows onto the raccoon\'s face, such as on the tuft of hair and on the markings around his eyes. This can be achieved by duplicating the tuft of hair and filling it black. Then it should be lowered below the original using the Page Down key. It can then be blurred slightly and its opacity lowered to give the effect of a real shadow. This can also be done on the markings around the eyes. 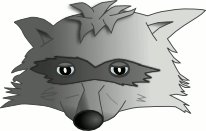
6 - Finally, add some shadows, like in the previous step, around the ears and lower face to give a greater sense of depth. 
By following these techniques you can achieve a greater 3D appearance to your characters and make them seem more life like.